Tips for Using a Rowing Machine Safely With Arthritis
A rowing machine can provide a great cardio and strength workout. Use these tips and modifications to make it easier and safer on painful joints.
A rowing machine used to simulate the action of rowing a boat can provide a great cardiovascular and strength workout for people with arthritis — working both your upper and lower body. However, rowing machines, also called ergometers or ergs, are often misused. Proper form and technique are necessities for staying injury- and pain-free while rowing. Finding a knowledgeable person to show you how to properly use the machine is recommended. These tips and modifications can also help you get started on a rowing machine. And when in doubt, talk your doctor or physical therapist about additional specific modifications to help keep you active.
Joint-Friendly Rowing Tips and Modifications
Warm up, stretch and cool down. As with all physical activities, be sure to adequately warm up, stretch and cool down. Marching in place for 5 minutes or a 10-minute walk is a great way to warm up. Be sure to stretch muscles in both your upper and lower body.
Choose the right rowing machine. Choose a rowing machine that has a smooth, fluid motion so it has low impact and is easier on your joints.
Use proper form and sequence. Correct form and sequence are essential for preventing muscle and joint stress or injury. Firmly strap your feet in with the strap at the ball of your feet. Loose straps can lead to shin splints. Grab the handle with your thumbs wrapped around the bottom, position yourself comfortably and then follow this sequence.
- Catch Position: Your knees and hips are bent. Your heels should be 6 inches to 1 foot away from the seat. If you have limited mobility of the hips or knees, you can further restrict how far you slide the seat forward. Heels will rise off the footrest only about 1 inch and shins stay perpendicular to the ground. If your heel tries to lift more than that, you are sliding too far forward. Your knees and hips move into a partially flexed position.
- Drive Phase: Push through your heels (not the balls of your feet and use your hamstrings during the drive phase, this will help protect your hip flexors and back as you straighten out your knees and hips) lean your trunk back slightly, then pull your elbows back toward your chest. If you are rowing with correct form, your trunk will lean forward by hinging at the hips. Your trunk should move only from an 11 o’clock to a 1 o’clock position; your neck and shoulders should be down and relaxed and shoulders should move only about 90 degrees forward to avoid straining rotator cuffs; your neck and back should remain aligned at all times. About 60% of the power should come from your legs, 20% should be holding in the core and 20% from finishing with your arms. Think of the drive as a pushing movement, not a pulling movement.
- Finish/Release Position: Your knees will be straight but not locked, head and chest up, shoulder blades pinched back and down. You will be leaned back at the hips slightly; pull your elbows back and close to your sides; and touch the bar to your chest below breast level. If you feel any back strain, have someone check your form. Leaning back too much in the finish/release position can cause hip flexor and low-back strain.
- Recovery Phase: Release your elbows to slowly straighten your arms. Your trunk does not move. Hinge your hips forward a bit; arms and legs remain straight, posture remains stable and core engaged. As your seat slides forward, your knees and hips bend (heels should not touch your bottom, and heels should rise off the footrest only about 1 inch) and shins stay perpendicular to the ground. The recovery phase should be calm and controlled.
Protect hands and wrists. Use foam overgrip to build up the handle or wear gloves to help with your grip. Do not grasp the bar too tightly. The handles should be held lightly, palms down, thumb wrapped around the bottom of the handle. Keep your wrists in a straight line with your hands as you row.
Consider a brace. A wrist brace, back brace, knee brace or ankle brace can be worn and provide support if needed.
Monitor your rowing progress. Begin at the lowest resistance until your form is perfect. Only then should you add resistance as tolerated. Slowly build your time on the rowing machine. Gradually increase your cadence or speed while maintaining good form. Begin with one day a week and add one or two more non-consecutive days when you can.
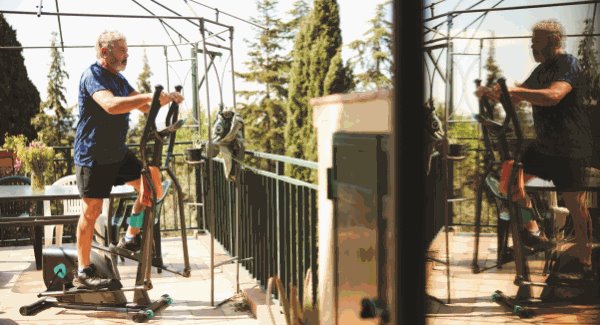
Consult your medical team. If you have persistent hand pain, wrist pain, hip pain, knee pain, elbow pain, shoulder pain or back pain, or have had hip replacement surgery, knee replacement surgery, elbow surgery, shoulder replacement surgery or back surgery, you may be advised not to use the rowing machine. Get clearance from a medical professional before you get onto the rowing machine or simply choose another form of cardio workout, such as the elliptical or the stationary bike.

Stay in the Know. Live in the Yes.
Get involved with the arthritis community. Tell us a little about yourself and, based on your interests, you’ll receive emails packed with the latest information and resources to live your best life and connect with others.


